HaxeFlixel DragonBones Support
4 min read | September 1, 2018
Hi there, I’m Troy (@RouStudios), creator and maintainer of the HaxeFlixel backend for DragonBones. I’m here to write a post about DragonBones support for HaxeFlixel and how to use it.
First of all, what is DragonBones? DragonBones is a free *open source alternative to the popular 2D bone animation tool Spine (which Flixel already has support for). Its a tool which allows you to animate static 2D images programmatically (similar to Flash tweening) without having to painstakingly animate each individual frame in a spritesheet. Why would one use it over Spine? Well Spine can potentially be quite expensive for new indie devs, and DragonBones is free. Not only that, DragonBones is a fully featured, intuitive bone animation editor and has Mesh Deformation support just like Spine. Quite a deal for free!

*One caveat is that DragonBones is not truly open source (if you care about that sort of thing), only the runtime is. If you want a truly open source editor which can export to the DragonBones format while also being fully featured, check out the great alternative COA Tools for Blender. Its DragonBones export should also work with the Flixel backend I’ve created.
How exactly do you use DragonBones with Flixel? Well, that’s what I’ll be showing you, so let’s get started.
Install
First install the library from haxelib using:
haxelib install dragonbones
Although it’s better to install directly from GitHub in order to always keep up with the latest updates:
haxelib git dragonbones https://github.com/openfl/dragonbones
Create Project
Then create a new Flixel project template with Flixel Tools, and add DragonBones to your Project.xml. You can also download the sample project instead to follow along.
<haxelib name="dragonbones" />
XML
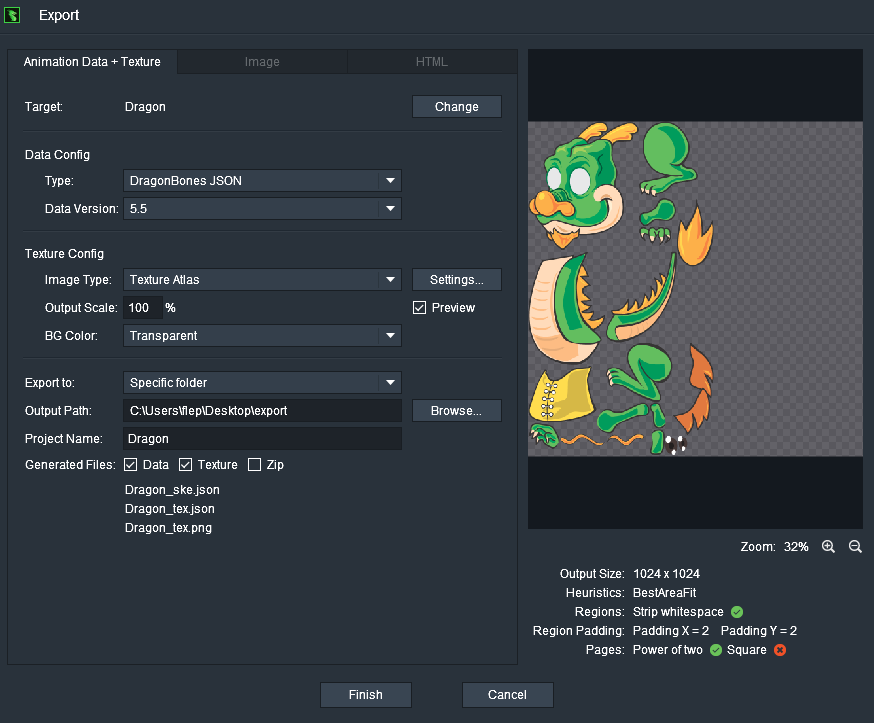
Then create a new animation using DragonBones. For the sake of this tutorial, we’re going to use a premade project that comes with DragonBones called DragonBoy that you can select from the starting menu. Once you’re done, go to File > Export and export the animation using Data Version: 5.0 and Image Type: Texture Atlas. Then save it to the assets folder in your Flixel project.

Packages
First, import the packages we'll be using.
import haxe.Json;
import openfl.Assets;
import flixel.FlxG;
import flixel.FlxState;
import flixel.group.FlxGroup;
import dragonBones.objects.DragonBonesData;
import dragonBones.flixel.FlixelTextureAtlasData;
import dragonBones.flixel.FlixelArmatureDisplay;
import dragonBones.flixel.FlixelArmatureCollider;
import dragonBones.flixel.FlixelFactory;
import dragonBones.flixel.FlixelEvent;
import dragonBones.animation.WorldClock;
HAXE
Create Factory
Then, inside the create function under your FlxState class you have to create a FlixelFactory which generates flixel objects for DragonBones like so:
var _factory = new FlixelFactory();
HAXE
Parse Data
Then you have to use the factory to parse the animation files that you’ve exported in order to read their data.
var dragonBonesData:DragonBonesData = _factory.parseDragonBonesData(
	Json.parse(Assets.getText("assets/dragonboy_flixel_ske.json"))
);

_factory.parseTextureAtlasData(
	Json.parse(Assets.getText("assets/dragonboy_flixel_tex.json")),
	Assets.getBitmapData("assets/dragonboy_flixel_tex.png")
);
HAXE
Build Armature
Then you have to create a FlxGroup which will contain all the DragonBones Flixel Sprites. You can do so by declaring a variable and then assigning the new FlxGroup to it which you will generate using the factory.
var armatureGroup = _factory.buildArmatureDisplay(new FlixelArmatureCollider(250, 250, 27, 25, 13, 8), dragonBonesData.armatureNames[0]);
HAXE
One thing to note is you also have to pass in a collision box similar to the Flixel Spine plugin. This is because with many different sprites, if you want to check the collisions of the entire “character” then you have to have one large collision box. You also pass in the name of the armature (the animations skeleton). Generally you’ll only have one armature, so just pass in the first index of the armatureNames array from the data you got earlier. Otherwise, check your animation in DragonBones to find the name and pass it in as a string.
Set Properties
Then you iterate through all of the sprites in the FlxGroup to set their initial properties (such as scale, placement in the world, ect.) as you please.
armatureGroup.forEach(function(display:FlixelArmatureDisplay) {
	display.antialiasing = true;
	display.x = 100;
	display.y = 100;
	display.scaleX = 0.50;
	display.scaleY = 0.50;
});
HAXE
Start Animation
Now you do the same thing to start the initial animation. Again we grab the first index from the list of animation names to keep it simple.
armatureGroup.forEach(function(display:FlixelArmatureDisplay) {
	display.animation.play(display.animation.animationNames[0]);
});
HAXE
Update Animation
Then, inside the update loop of the FlxState class, add FlixelFactory._clock.advanceTime(-1); to update the animation clock so that the factory knows what point it's at on the timeline.
override public function update(elapsed:Float):Void
{
	FlixelFactory._clock.advanceTime(-1);
	super.update(elapsed);
}
HAXE
Render
Finally, we add the FlxGroup to the FlxState inside the create function so it can be rendered!
add(armatureGroup);
HAXE
Preview
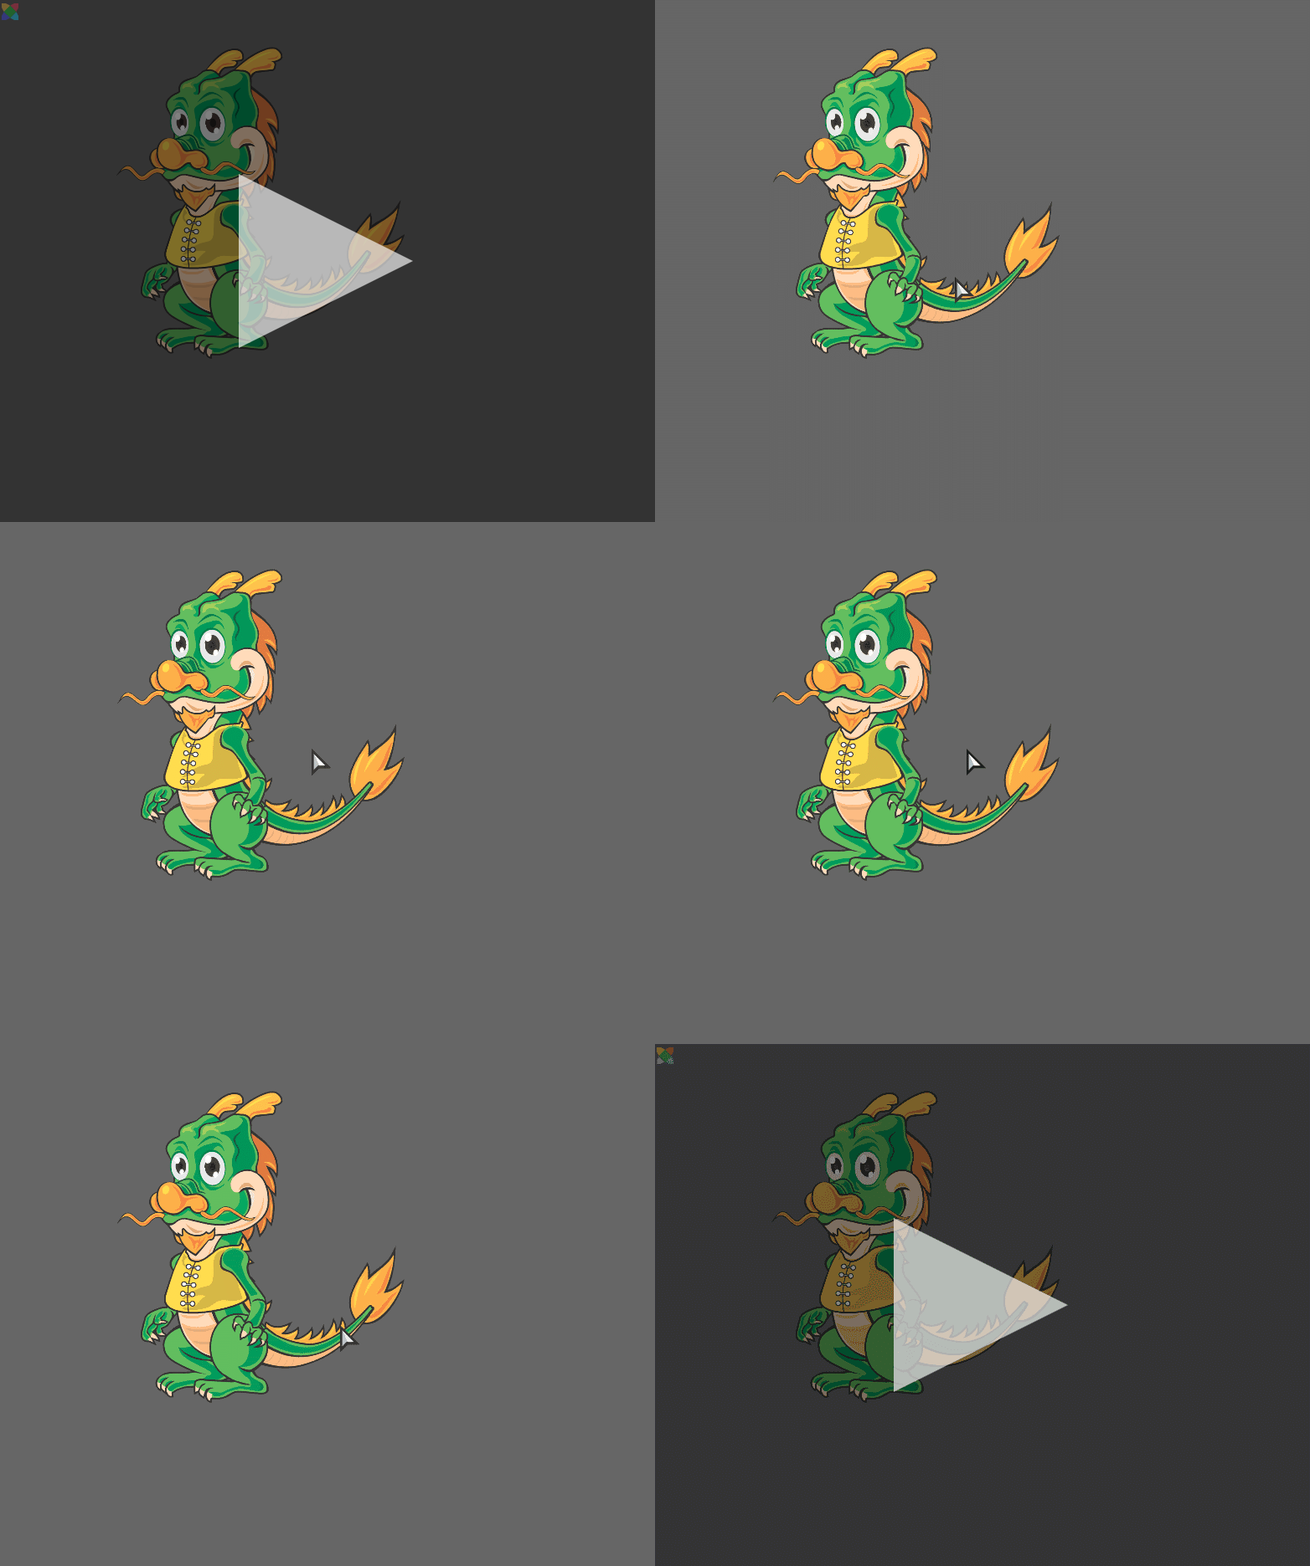
That’s it! Once you compile with lime test html5, it should look like this:
